200 Watt LED Flood Light: 5-Step Installation Guide
LED flood lights are a smart alternative to their counterparts, the halogen flood lights as they consume up to 90% less energy than their predecessors. These lights come in different power ratings. However, a 200 watt LED flood light is the most preferred option for illuminating outdoor areas.
Many factors require consideration before you buy an LED light. And after you have successfully bought the best light, there are installation guidelines that you must follow to ensure that the light operates in a safe environment and utilizes its maximum capacity to serve its purpose.
In this article, we will walk you through a comprehensive 200 watt LED flood light installation guide. Then we will leave you with some important tips for a safe installation procedure. But for the novices here, let’s first introduce the central point of this article.
200 watt LED flood light: An Introduction
An LED flood light employs light-emitting diodes that convert electricity into light. This is a stark contrast from their halogen counterparts, which use electricity to generate heat which in turn generates light. Therefore, LED lights are thus more energy efficient.
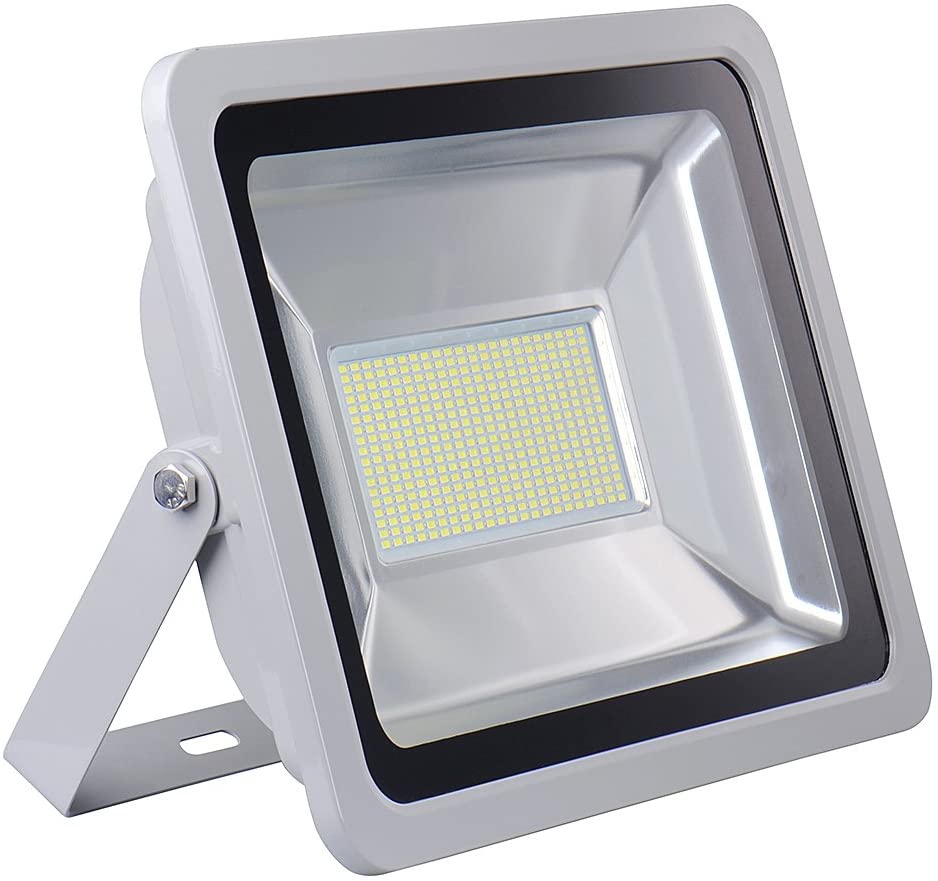
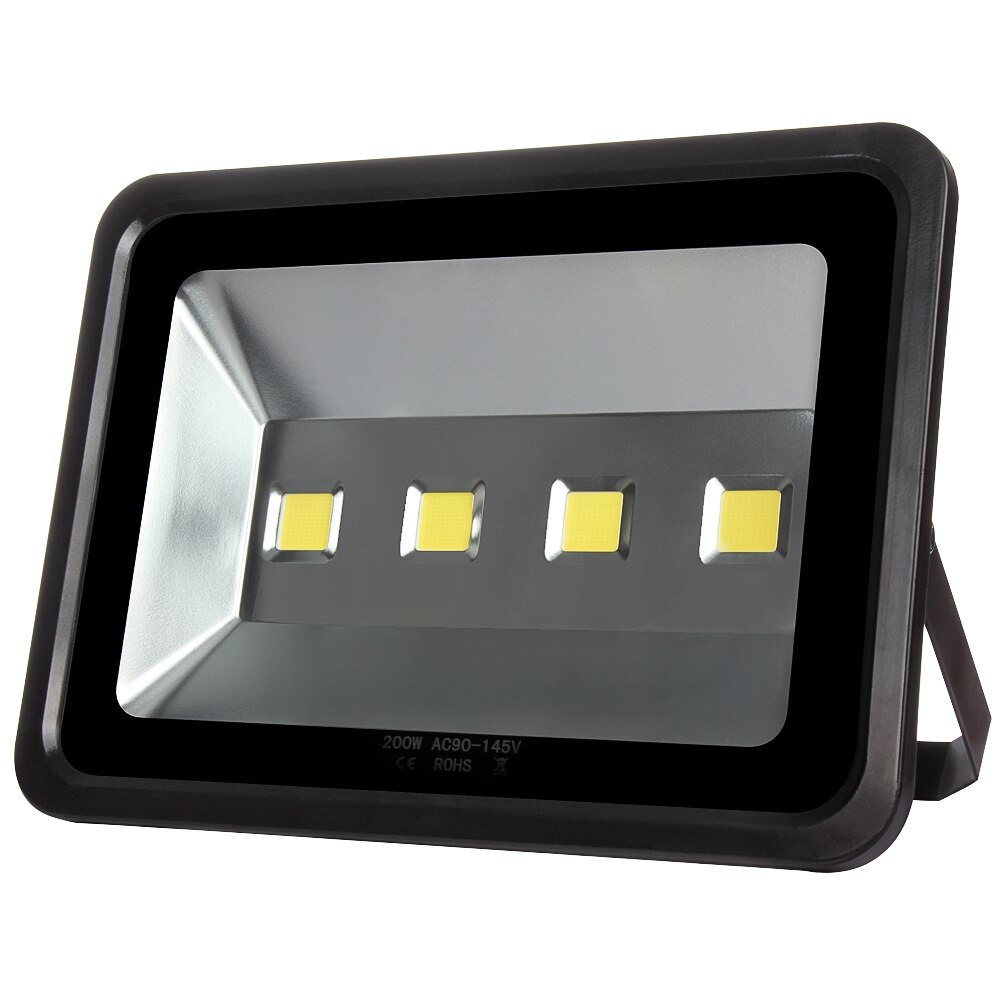
A 200 watt LED flood light works on 200 watts power. This power rating is symbolic of how much power the light will consume and the brightness it will emit is represented by lumens. A 200w LED can generate upward of 20000 lumens and is equivalent to a 400w metal halide lamp.
LED flood lights generate much less waste heat than other types of flood lights. Moreover, for the dissipation of waste heat, they have supplementary heat sinks that let off the heat generated and ensure the durability of the light.
A 200 watt LED flood light, courtesy of its uniform, bright light, and low power consumption, finds numerous applications. It lightens up playgrounds, fields, and sports arenas. It works to illuminate façades and the building exterior. These lights also find applications in homes where they illuminate garages, gardens, and parking lots.
How to Install a 200 watt LED flood light
Once you have bought the best LED light for your application, you would want to put it in its place right away. However, installation of a high-powered flood light requires caution and care. Following are the general LED flood light installation steps that everyone must follow to ensure the safety of life and property.
Step 1: Choosing an Appropriate Location
You might already have an installation location in mind when you bought the LED flood light. But there are some locations where installing a flood light could be dangerous.
Therefore, make sure you are installing the flood light in an environment that is free from chemicals and toxins to avoid damaging the light and possible casualties due to heat from the light and chemical vapors.
If you have a mountable LED flood light, make sure you do not mount it on a flammable surface such as plastic or polystyrene. Also, ascertain that there is enough open space around the light so that it remains well-ventilated and the heat sink can dissipate heat properly.
Step 2: Drop the Breakers
This is a critical step. Please cut off the power supply to the circuit in which you will connect the flood light. You can do this by dropping the breaker to that particular circuit.
This step is extremely important to avoid electrocution. Never touch open wires and work on a circuit unless you are 100% sure that there is no current flowing in it. If you don’t have adequate information about circuits and breakers, please call in a technician to install the LED flood light for you.
Step 3: Drilling Holes
If you are mounting the flood light on a wall or fixing it somewhere on the ground, use the flood light’s suspension bracket to mark guide holes on the surface. Then, using an electric drill bit, drill holes in the surface and fix the flood light in place using screws and wall plugs that often come with the light.
Make sure that the flood light is firmly in place after you are done screwing it to the surface.
Step 4: Connections
Proceed with this step only if you are accustomed to your local wiring codes.
Connect the mains wire of the 200 watt LED flood light to the junction box. Then connect the earth, live and neutral wires according to their respective polarity. It is critical to take care of the polarity of the wires to prevent the light from getting damaged.
Normally, the green/yellow wire would connect with the earth ‘E’ terminal. The brown/black wire will connect with the live or hot ‘L’ terminal. And the blue/white wire will go into the neutral ‘N’ terminal.
After you are done connecting the wires, make sure there are no bare wires that are left untethered and tighten all the hanging cables using a cable restraint.
Step 5: Checking
After you have screwed the 200 watt LED flood light in place and wired all the connections, it’s time to check if it turns on. Switch the power supply to the flood light circuit on. If the area is illuminated, good job! You have successfully installed an LED flood light.
If it does not come on, don’t worry, shut the power supply off and look for any loose connections or missed cables. If the problem persists contact your LED flood light supplier, they may be able to assist you.
Precautionary Measures
- The LED light shines through the tampered glass. Make sure you handle the light with care while installing it. If the glass is broken, don’t continue with the installation procedure and discard the light.
- The LED beam from a 200 watt LED flood light is extremely bright. Avoid staring directly into the light as it may damage your eyes.
- When the light is in use, do not touch the luminaire’s external surfaces as they may be hot.
- If you are not accustomed to the technicalities of installing electric products, please call in a professional to install your flood light.
- While connecting the polarity wires, make sure you follow your local wiring codes and regulations.
- Always buy electric lighting that has proper safety certifications.
Conclusion
LED flood lights have some major advantages over their counterparts. They are more energy-efficient, last longer, and generate less heat. Thus, they are quickly replacing the halogen and metal halide flood lights in all commercial, domestic, and industrial applications.
Installing a 200 watt LED flood light is not an uphill struggle if you have experience in installing electrical fixtures. There are a few steps that you should follow, and you would be able to successfully install the light.
Make sure the location of installation of the light is not flammable or present in a chemical-laden atmosphere. Furthermore, before proceeding with any electrical work, ensure that the power supply to the circuit is off.
If you follow the general steps present in this installation guide and take all the necessary precautionary measures, you will be able to successfully install your LED flood light in no time.
For More Information, Contact Us Today!